In our last post, we explained how to upcycle wooden pallets into a raised garden bed and a wall garden. Today, we’re going to show you how to use your wooden pallets to add both aesthetic and functional designs to your garden.
As part of the wooden packaging industry, Pallet Management Group is proud to be an eco-friendly company that is always looking to improve upon everyday practices with sustainable solutions. Now, if you’ll just roll your sleeves up with us, we’ll get started.
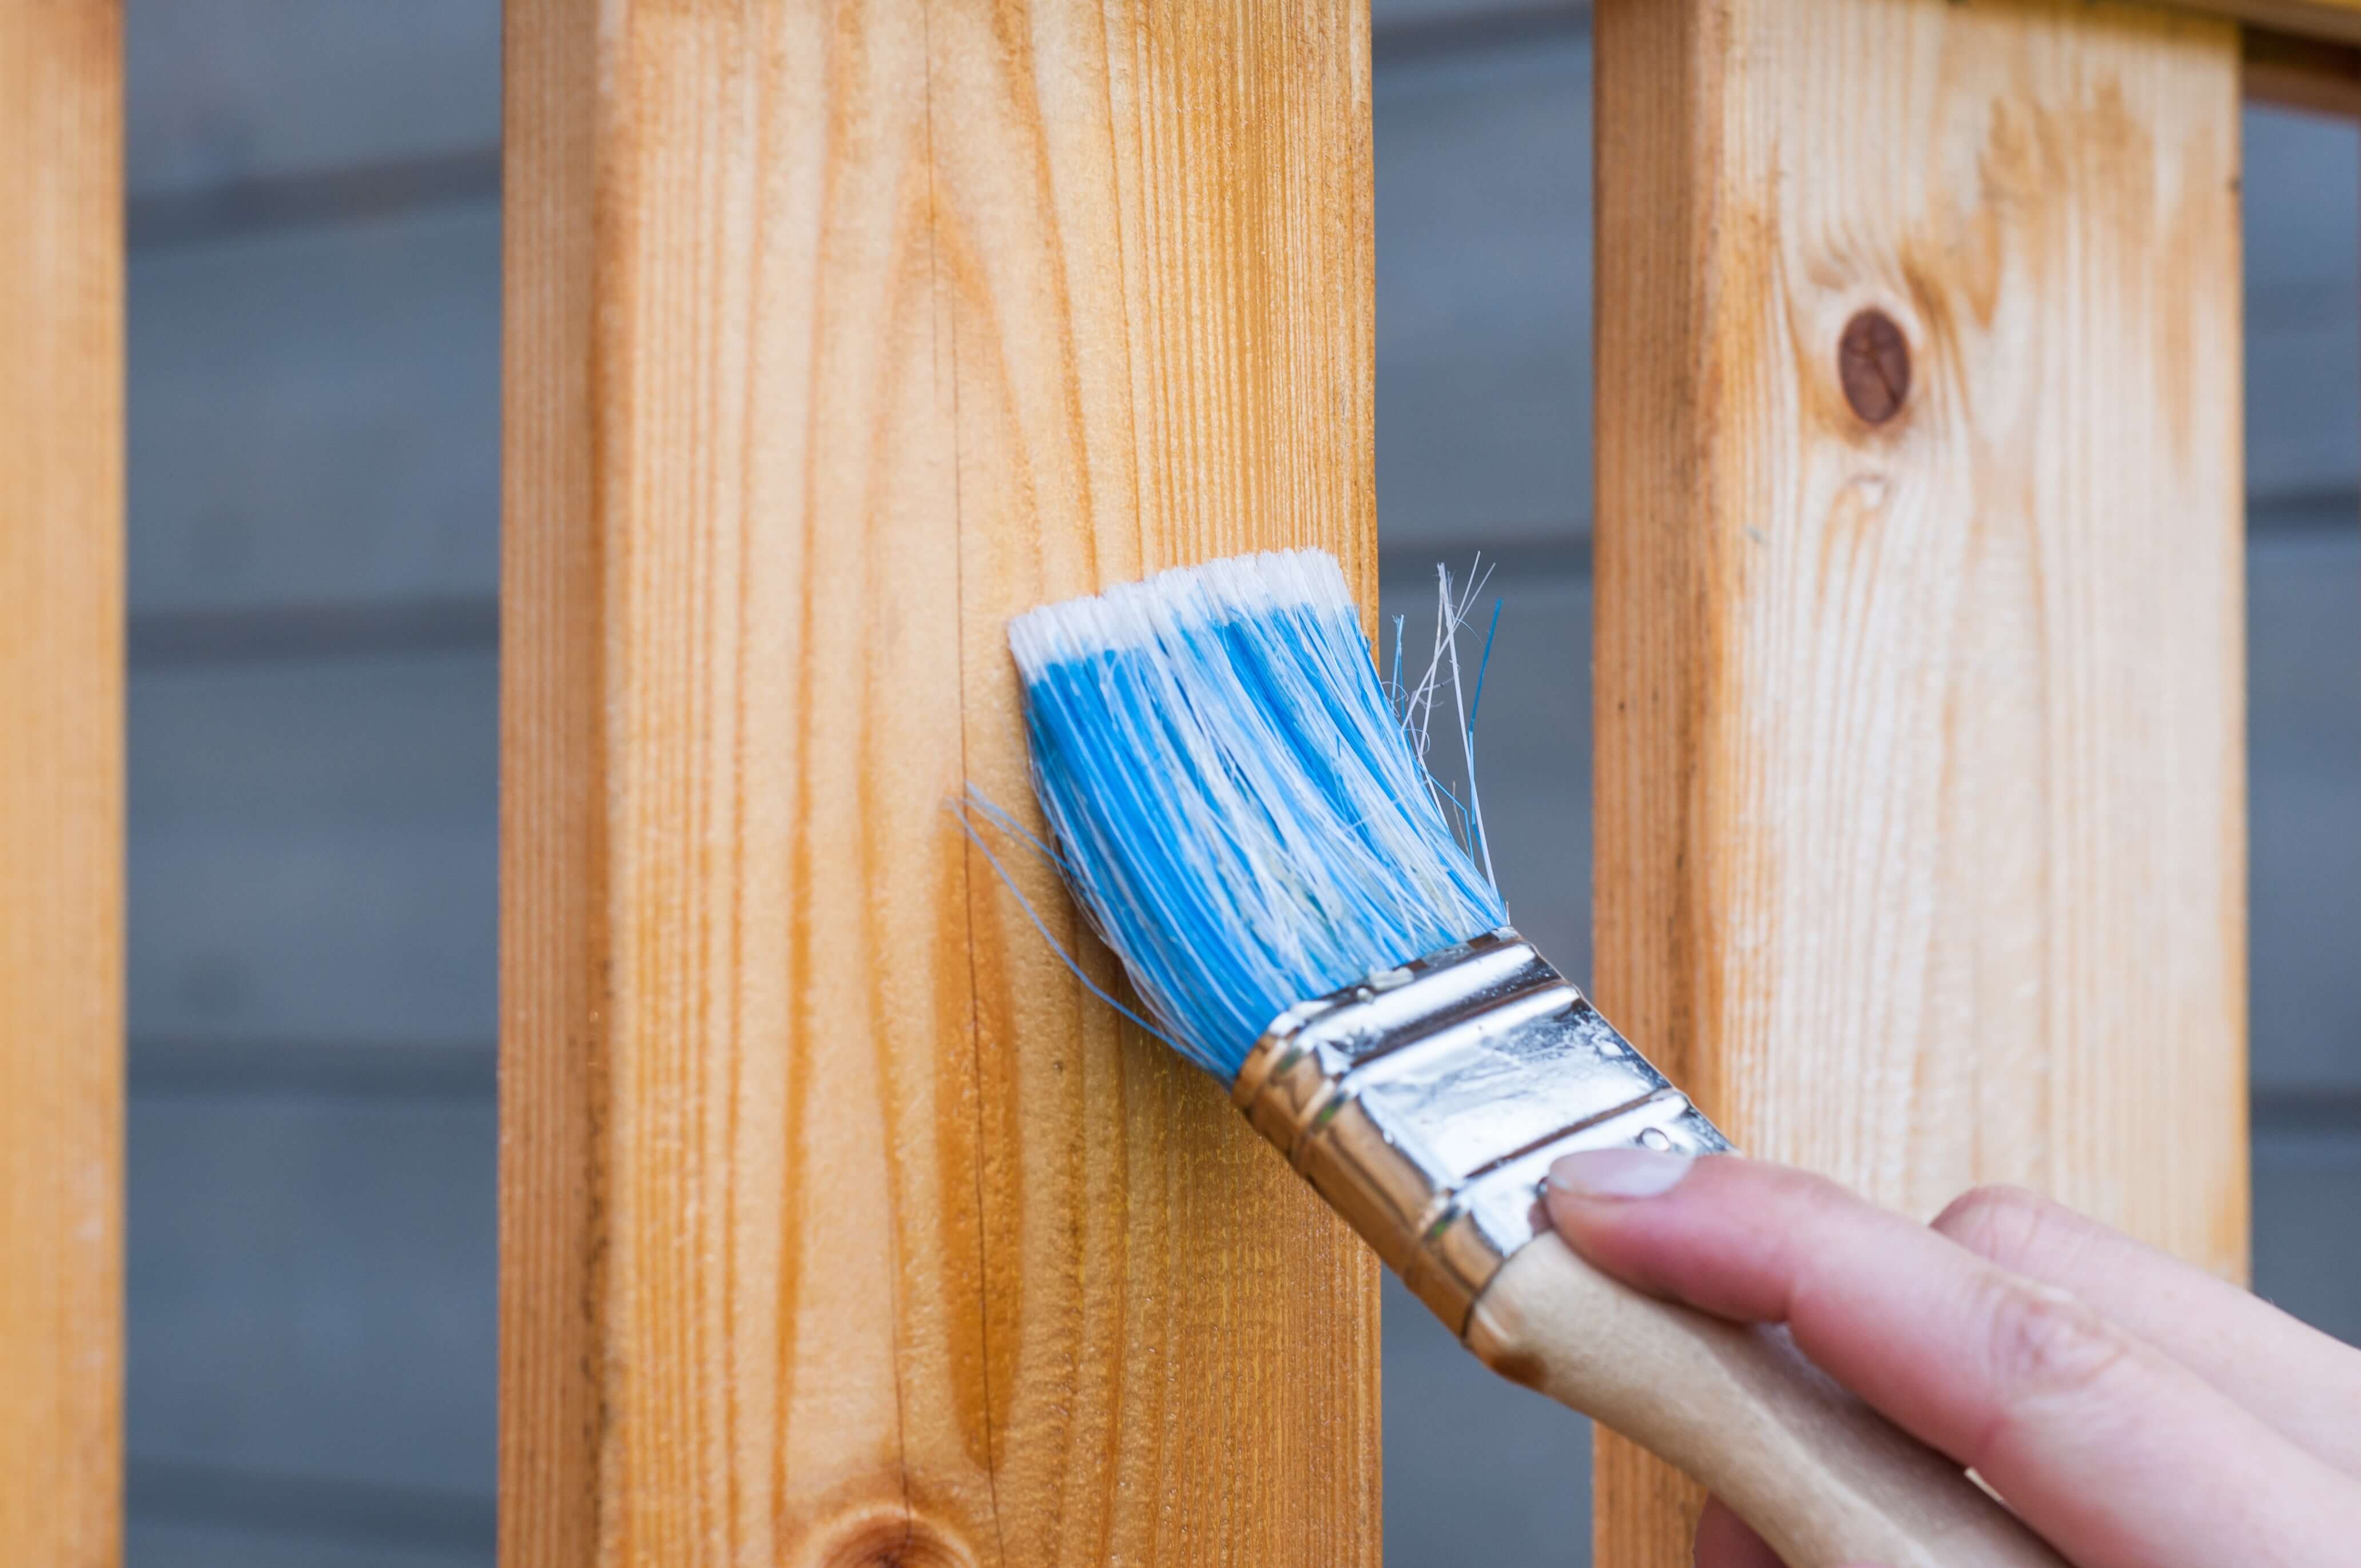
Remember to always use safety equipment, such as gloves and goggles, when operating a saw and sander.
Lawn Fencing or Edging
The following design uses planks of varying sizes that can be assembled in ascending or descending order, as well as alternating sizes. To ensure that your planks are perfectly straight, you can tape a yardstick to a surface for easy reference. This step, however, is not necessary.
Here’s how to make a fence or garden edging with wooden pallets:
- Cut your wooden pallet planks with a saw into varying lengths. The lengths are according to your preference.
- Using wire cutters, cut two metal 1/8 inch rods into four sections of six or nine inches, depending on how much support you want. Nine inches is ideal if your fencing is also being used for a raised bed.
- Pierce a large clean soda bottle with the label removed using a retractable utility knife below the dome section and slightly above the bottom. Switch to scissors to cut out a perfect cylinder. Cut down the middle of the cylinder so it is open, fold it, and rotate the open cylinder 90 degrees to cut down the middle so you have two open strips. Clean the strips to remove any sticky residue from the label. Repeat for the second bottle.
- Assemble four wooden planks and arrange them according to your preference. This will be your front. Flip your boards over and make sure their bottoms line up straight with each other. Drill a hole in the bottom edging of the first and last planks using a 1/8 inch drill bit.
- Place a metal rod into each hole. Use a rubber mallet or hammer if you encounter difficulty. You can use silicone around the rod where it meets the wooden plank to ensure it remains inside the plank, but this is optional.
- With all four planks lined up again with their back facing you, lay a strip of plastic perpendicularly across all four planks with the curl going away from you. Make sure the strip does not bypass the planks on the ends. Using a staple gun, staple the four corners of the plastic strip as well as the edges on the middle planks. Make sure you staple gun’s nose is flat against the wooden plank. If you encounter difficulty, add more weight to the back of the staple gun and pass over the staples with a hammer.
- Repeat steps 4-6 as many times as you need to make enough plank groupings that will cover the perimeter of your garden or walkway.
- Place a group of four boards in the area where you want the fence or edging. Use a rubber mallet or hammer to pound the boards into the ground so the rods go deep enough. Repeat for all the plank groups.
- Your fence is complete!
We Do More for Your Garden!
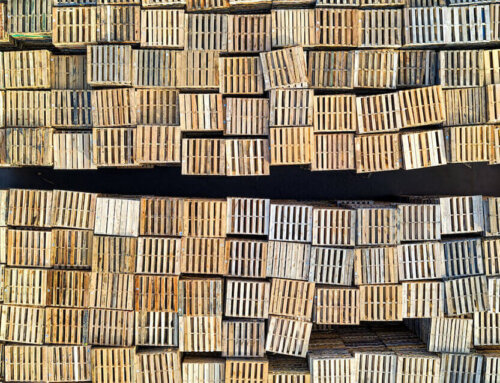
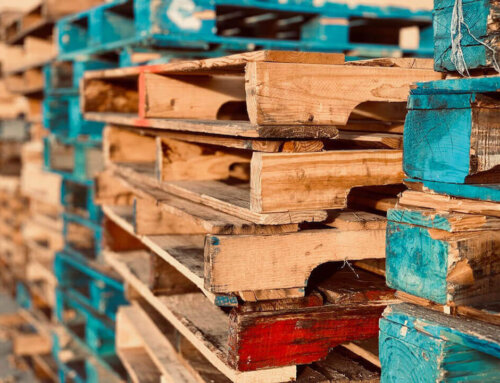
As you can see, wooden pallets serve many purposes. In fact, Pallet Management not only provides wooden pallets for facilities, but we also manufacture mulch with wooden pallets that are no longer usable. Wooden pallet mulch is beneficial to gardens because they retain water, prevent many pests from harming your plants, and deter weed growth.
Want to know more about us? Check out our services or get in touch today!


Leave A Comment
You must be logged in to post a comment.